Sunday 21 June 2020

Points in and working!


Strathspeys Engineering Department  Sidings,
(Or to giving it, it’s informal name Morley’s shed)
20 June 2020

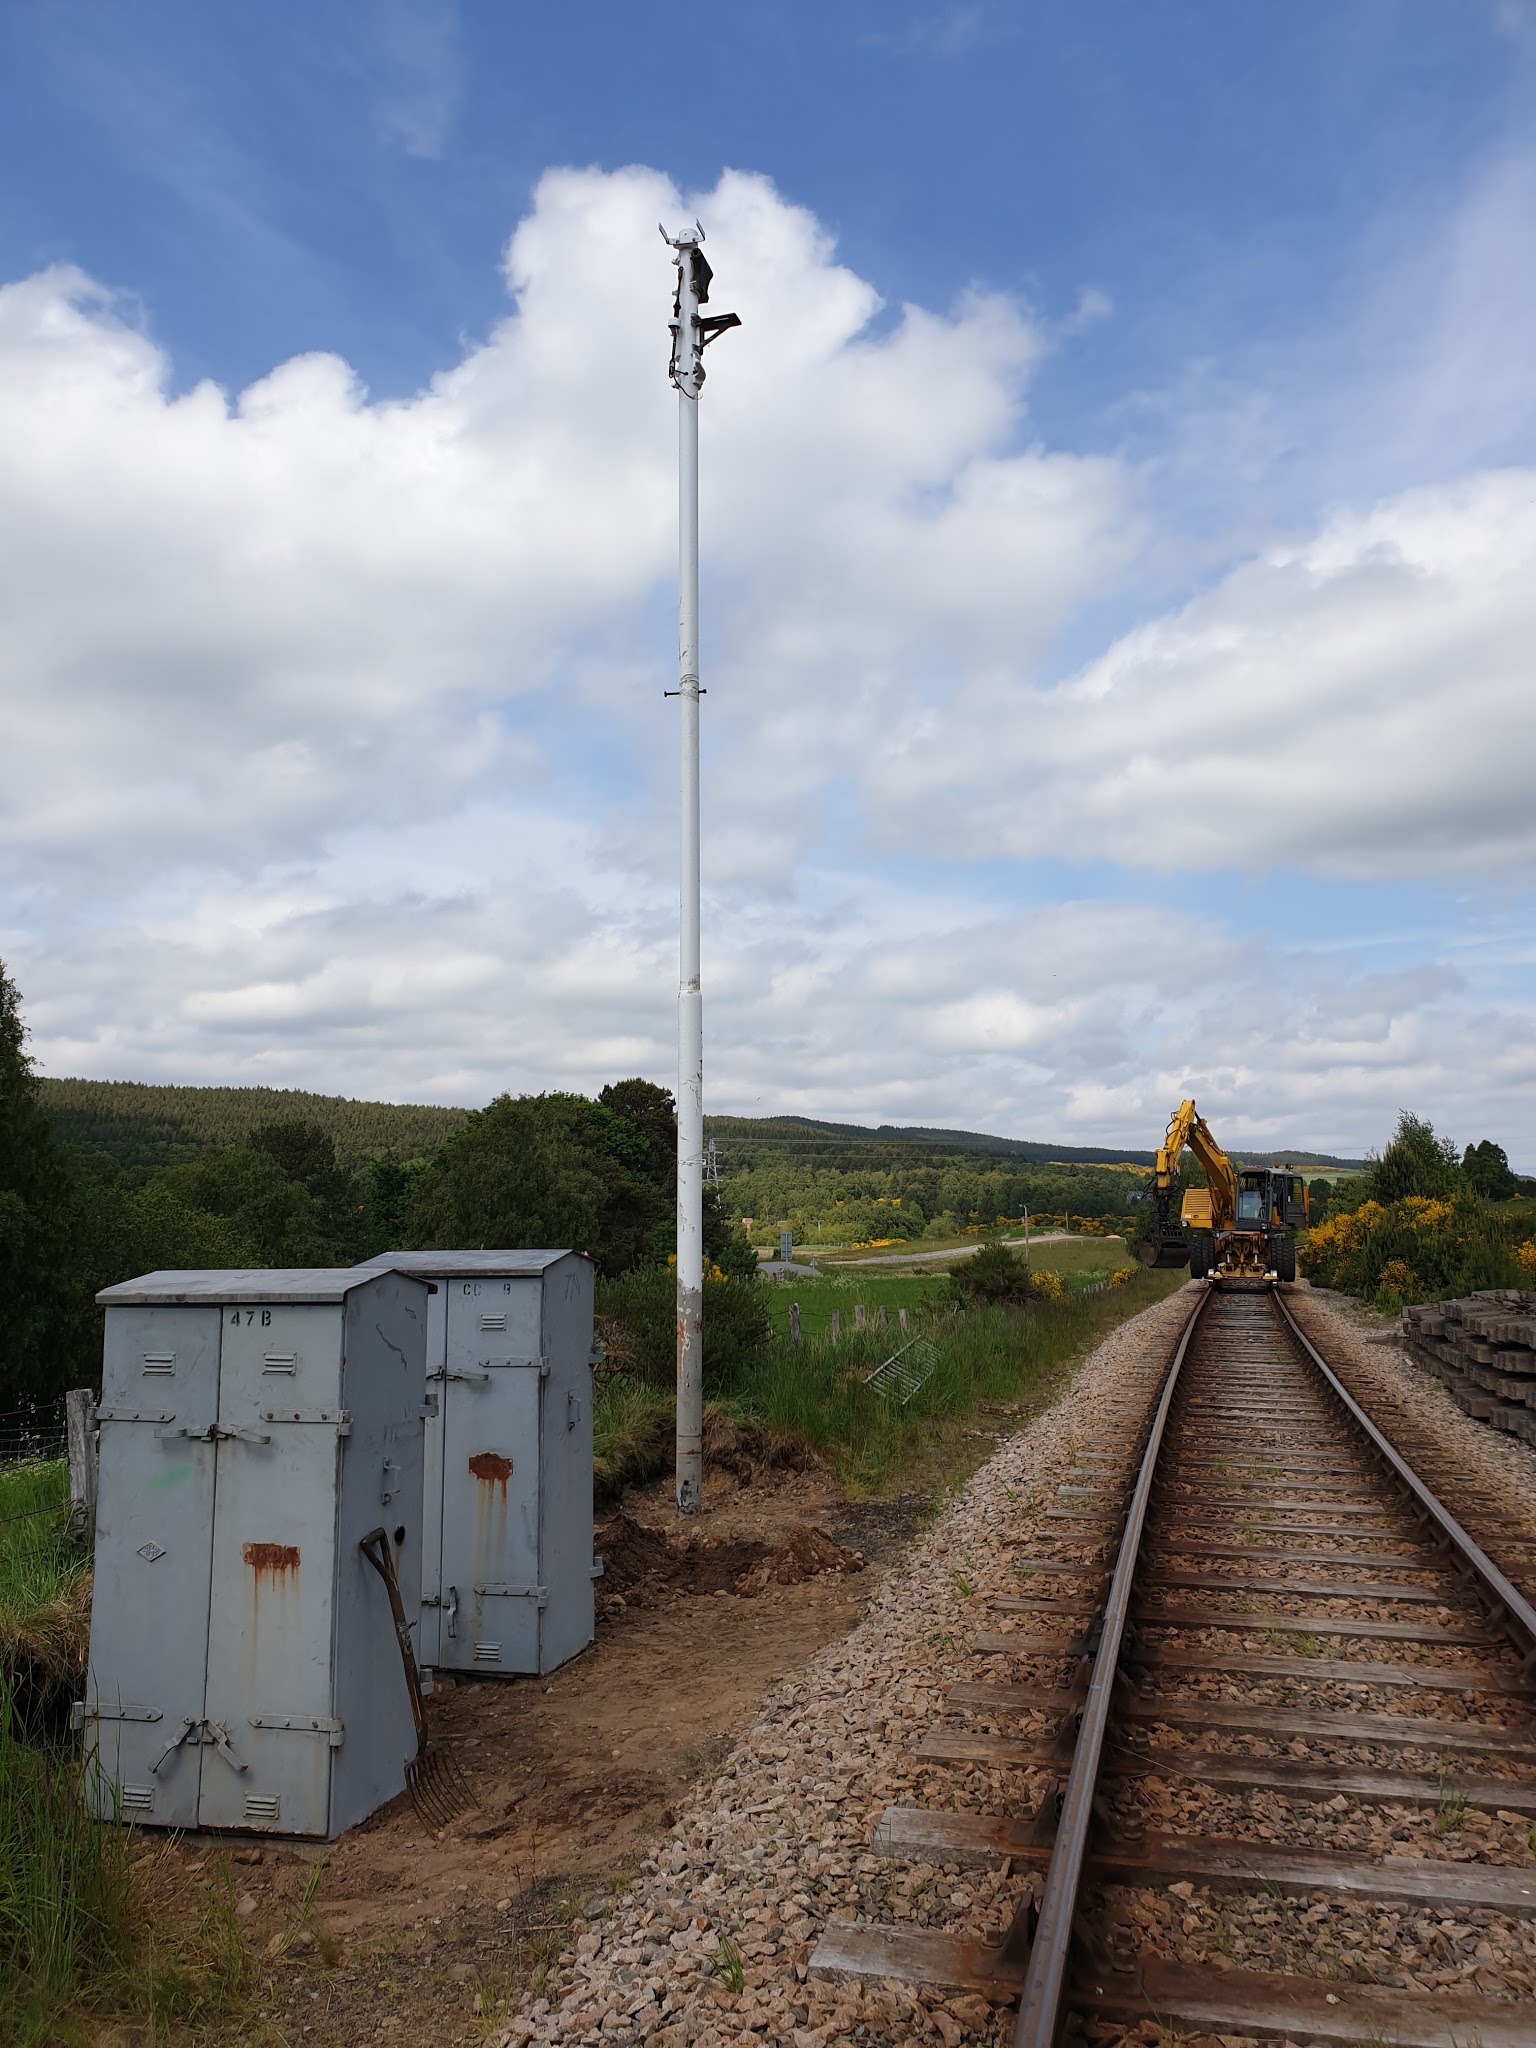
It has been nice this weekend to be out on the engineering squad.

Working along side the P-ways squad this weekend has been refreshing, to be working along side other people and to receive help digging holes as well as back filling has been a great change . It has been interesting seeing the effort which has gone into making physical distancing possible with in the work space. Whether it was questioning what was needing worked on or who was able to access the various site next , it highlighted that even though the work process is slightly different it’s certainly not impossible.


Start of the day! All the holes have been dug and stools repaired on my passing visits. We were now ready to put the cranks down and put the rodding in and see how much we can complete today.


First job was putting the compensator crank down. Currently sitting in it’s mid stroke position, in this picture. For those who do not understand the reason why we use this crank...Well it is very clever! With out this the points system will just not work. With the temperature variants the rodding is broken into two parts “push” and “pull. The compensator crank is very clever and changes a “push” movement into a “pull”movement. So why do we have half of the rodding as push and the other as pull? Simple! to equalise expansion and contraction. As long as both are equal in length and warm and cool at the same rate then both remain the same length all the time. This way we do not have to constantly make adjustments to the points to make them work.


This is the sleeve crank being positioned, set at 90 degrees, or mid stroke this is standard practice when setting up or making adjustments to a mechanical points setup. It’s not as easy as you think! You need to keep it in the mid stoke position. Get the “sleeve” in line with the drive rod on the points. Plus get the hole on the other side to line up with the rodding run. In this case 610mm from the inside of the rail. Otherwise you will end up with extra resistance and make the points heavy for the signaller to operate! 

And the last thing I want is “more” grumpy signallers.


Today I was given some help from Angus. Between the two of us we started to put the rodding in. Lifting and packing and slewing. Very similar to P-way techniques. 140mm above the sleepers and 610mm from the inside of the rail profile. Takes a bit of time but well worth the effort. The better the line the easier it is for the signaller to operate. Plus it makes it look better as well.


Missed a couple of pictures at this point! The rodding has all been installed, closures been cut. If you look at the A end of the points you can see that they are set half way. The sleeve crank closest in the picture is also set in mid stroke/position. At this point we were ready to make the last cut and put the closure rod in from the points drive rod, (with the B end of points sitting half open) to the sleeve crank. Mid opening for This type of points is 54mm fully open is 108mm.


The last rod cut to size and pilot holes drilled. Now to offer it up and well, yes see if it fit! Thankfully it fitted perfectly.


Angus looking over quite happily “I think”, at the work that we have done today. You will notice the threaded bar that has been installed at the front of the points. This is to act as a sole plate. This makes sure that both stock rails do not move apart from each other, this may lead to the switches not closing properly. Worst case scenario derailment. Next worst scenario someone forgets about it and face plants into the ground! I hope both never happen!


Points Number on, all connected up working well. Will need a bit of usage to bed in. Think even the worst of signaller should be able to operate it easily. Now it is time to start working out the points detection for connecting up the signal out of the yard. Although there is an other day for that.


A end of the points looking down into the job. With the SGE type HJ electrical detector sitting loosely in place. Points guards still to be mounted and points numbers in place. Need to drill out for the nails! Jarrah wood 8 - nails zero!


So overall a very good day with the points in a usable condition. Although the interlocking is still not done. Until then the points will remain clamped, scotched and locked out of use. This ensures the safety of any trains that may run over the points in the short term future.

Here is a quick look at what goes into the design of the rodding run. 

This is only the points rodding ,there is a different drawings again for the FPL (facing point lock).

Saturday 13 June 2020

Big push at permanent way depot, Morley’s

Morley project update 13 of June 2020

It has been a while since I last did a post so there is a fair bit to put in.

Prep work has been carried out getting the outer home, and yard exit signal ready to be planted. The rodding run to the A end of the points has been cleaned up, and finished off. Each crank was only held down by two screws. After proving that it works. The remaining screws holes have been drilled and cranks secured fully. With all this “finishing” work been done the points are now very light to operate. Anyway each picture has a description and will show you what has been done. Of course following current government guidelines and regulations.


Thanks to Georgie for pulling out this signal from the back of the yard at Boat of Garten, this one came from Dyce. There was three signals that we got from Dyce all the same size. Two are already in use on the railway. One is the Home signal at Aviemore from Boat of Garten. The second is the signal in front of the Roy Hamilton carriage shed site for our mainline heading to Boat of Garten.


Painting work not fully completed in this photo but well on the way to been completed.


This is the exit signal, out of the “permanent way depot” Morley’s. All painted up, missing parts found ready to go up. This signal came from Fouldubs signal box, at Grangemouth. Formally know as FD34.


Planted! Ready to be connected up to Boat north signal box once everything else has been done. The balance wight and the down wire, is still to be fitted. Nun of which will be done until the points are finished.


Some more hole digging has been completed. Stools dropped in. But than ran out of stool! So a visit to the sand pit at the back of the yard is required.


There was no, already made single rodding run stools. Which resulted in time been spent making up 9 to complete the job. The ones you can see in this picture came from the Aviemore resiganaling project of Networkrails. These stool use to carry six rodding runs in there day. But now will only carry one.


Here are the stools cut down and made ready to carry the single rodding run to the “B” end of the points.


Here they all are! Ready for someone to dig some more holes. Oh goodie!


This is the New outer home now up. Thanks to Georgie and his amazing machine! Also the embankment been levelled off and space made for two location cases for track circuit equipment and signal lighting circuits. The bottom of the post still needs to be painted black plus one or two bits of the white needs touched up as well.


Then the location cases were put in. These location cases came from Perth some years ago. They are still needing a bit of work yet. A good clean down and paint up is still required. Although this can be easily done where they now are.


Still some tidying to do but starting to look really nice.

Thursday 4 June 2020

Morley project part 3

Morley project part 3 03/06/20

Hello all,

Has been another productive week of lock down. Unfortunately there is not much to show for it. A lot of it has been tidying up and making things look better. With the weather being SO hot, work turned to the preparation of the signal for coming out of the sidings. In the hot sun managed to scrap the signal down to bare metal and the paint it up. With it being so hot, managed to get two coats on and touch dry before leaving the site.


Signal before been scrapped and cleaned up.

Signal all cleaned up ready for painting.

White paint done, still needs black paint at the bottom 

White paint done, all round the post. Black paint still required.


As the week carried on and the weather got cooler, attention turned back to the points. Between Georgie and myself, we managed to heat treat the kicker bar on the A end of the points. With this done the movement of the points is much better and it now has the required gap in the railway specification.

Moving to the B end. The real problem solving end! This type of turn out, our “P-way supervisor” and myself have only ever seen this set up in a book. Making it a little harder to understand what is needed to put it all together, making it quite a challenge. But we will not be beaten! With blunt drill bits and lots of measuring twice, or several times until two reading are the same. We finally managed to get the stretcher bar in place and secured. I must say that I am certainly very pleased with how it has come out.
 The next problem that had to be sorted, was the switches required to be drilled. To take the drop lugs for the mechanical detector of the points for the signal. Sounds easy but trying to measure on something that is not quite flat and a little different to the other with a 1mm tolerances for the holes to the bolts. Well all I can say is “got it spot on”. Measure lot’s of times drill once.


Stretcher bar being drilled to take the swan necks and drive rod.

Stretcher bar mounted and drive rod attached 

This switch rail needed to be cut down to match the other then both switches measured for the drop lugs. Pilot holes drilled to guide the big drill.

The switches beeing drilled out to 21mm after the pilot holes have been drilled.

Drop lugs fitted, perfect fit! Yes one is pointing the wrong way.
 And that’s it for this blog. Hope you all are enjoying looking and seeing what is going on. Any questions please do ask.